
Book Nook Assembly Tips
Welcome to our guide to assembling your Book Nook safely and with confidence. Opening a new kit is an exciting moment, and a little preparation can make the build even more enjoyable. Here you will find practical tips to help you organise the pieces, follow the picture-led instructions and achieve a result you will be proud to display. Whether you are an experienced modeller or building your first miniature scene, take your time, work step by step and enjoy watching the world come together.

Book Nook Assembly
Five Tips
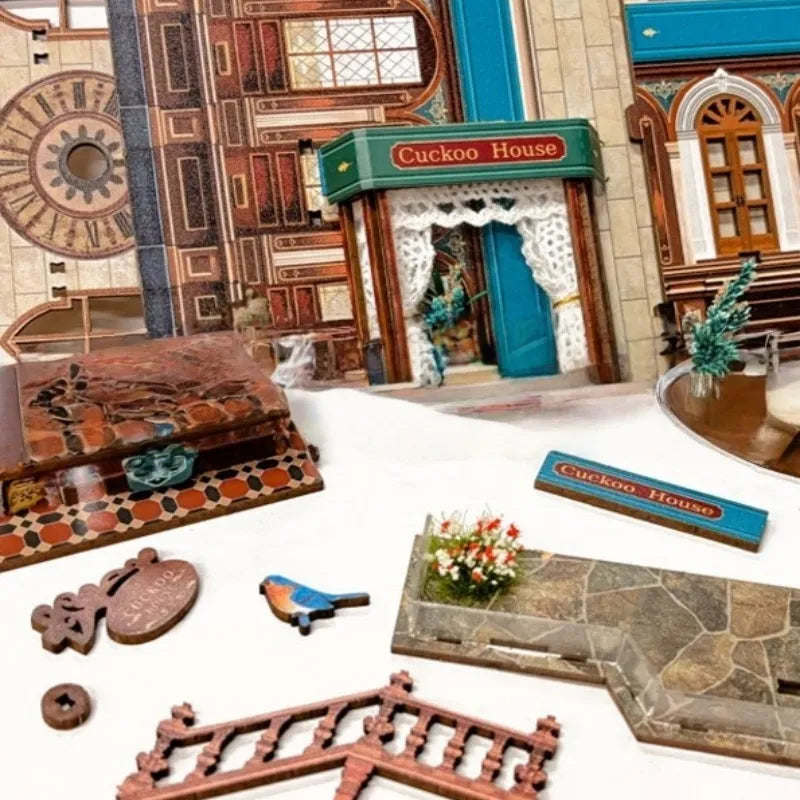
Arrange parts in sequence:
Lay out only the components needed for the current stage. Keeping them in order makes similar pieces easier to find and reduces the chance of fitting one too early.
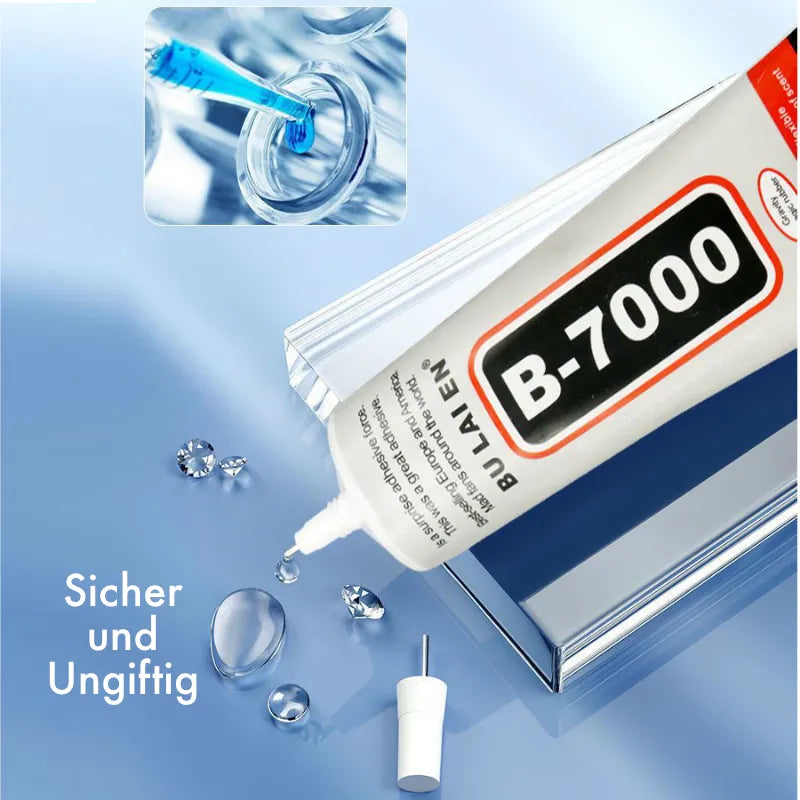
Control the amount of adhesive:
When adhesive is required, apply a small amount only where the instructions indicate. Protect your hands and work surface, and keep adhesive away from parts that need to move.
Book Nook Assembly
Five Tips
If a part is difficult to remove:
Check every attachment point before applying more pressure. Where necessary, an appropriate craft knife can be used carefully on a stable cutting mat to release the edge. Cut away from your hands, follow the tool manufacturer’s safety guidance and do not use excessive force, which can scratch or split the part.

Book Nook Assembly
Five Tips
Adjust a tight joint:
If a connection is too tight, lightly smooth the contact point with fine sandpaper or a nail file. Remove only a small amount and test the fit again before continuing.
Use wax only where appropriate:
For a dry mechanical joint, a very small amount of suitable wax may help parts slide together. Use it only when compatible with the kit and keep it away from surfaces that must be glued, painted or connected electrically.
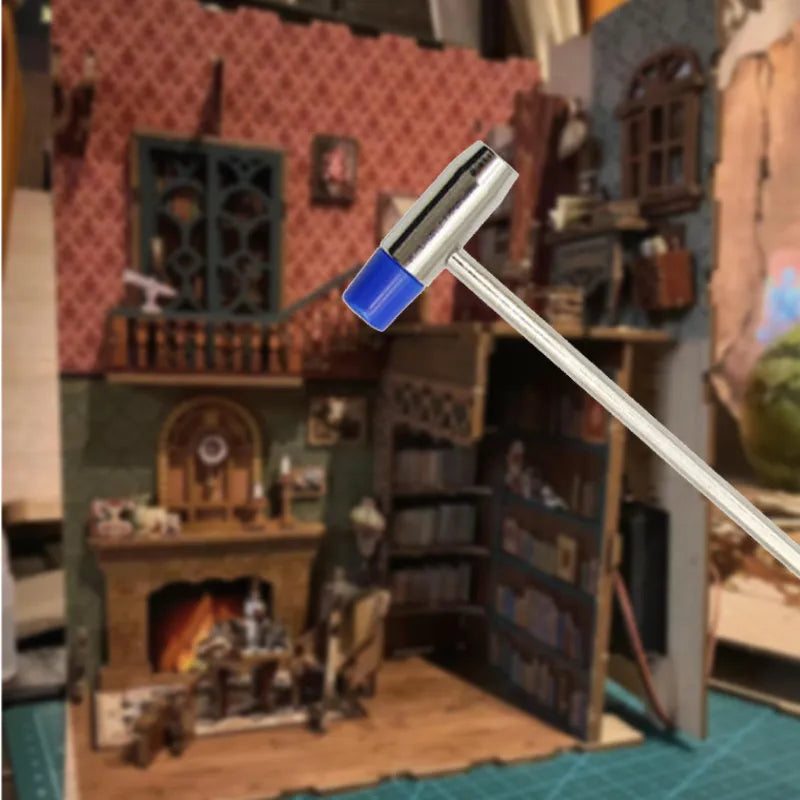
Using a Small Hammer
Tap gently:
Use several light taps rather than one hard blow so that the part moves into position gradually.
Choose the contact point carefully:
Support the part and tap only on a strong, load-bearing area. Avoid small decorative details, narrow edges and delicate joints.

Other Assembly Tips
Press by hand or use padded pliers:
Some parts can be eased into position slowly by hand. If pliers are needed, pad the jaws and apply only gentle, controlled pressure to avoid marking or crushing the material.
Use small clamps:
A small craft or woodworking clamp can hold parts in place while a connection sets. Protect the surface and do not overtighten.
More Practical Tips

Using Small Clamps
Use a small craft or woodworking clamp to hold parts in place. Protect the surface and tighten only enough to keep the joint aligned.
Pressing by Hand or with Padded Pliers
Ease parts into position slowly by hand. If pliers are needed, pad the jaws and use gentle, controlled pressure to avoid marking the material.

Self-Adhesive Stickers
No additional adhesive is needed when a sticker already has its own adhesive backing.