

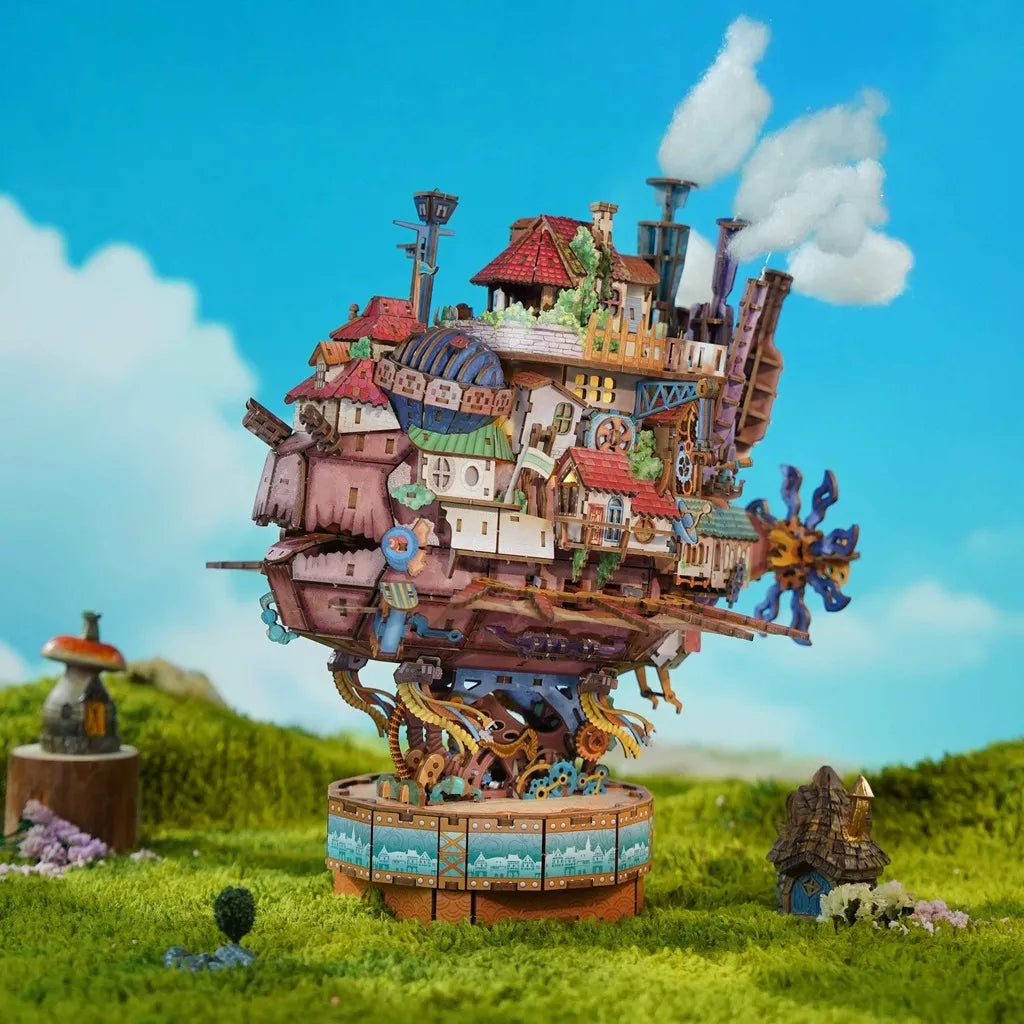

Walking Castle – Mechanical Wooden Castle
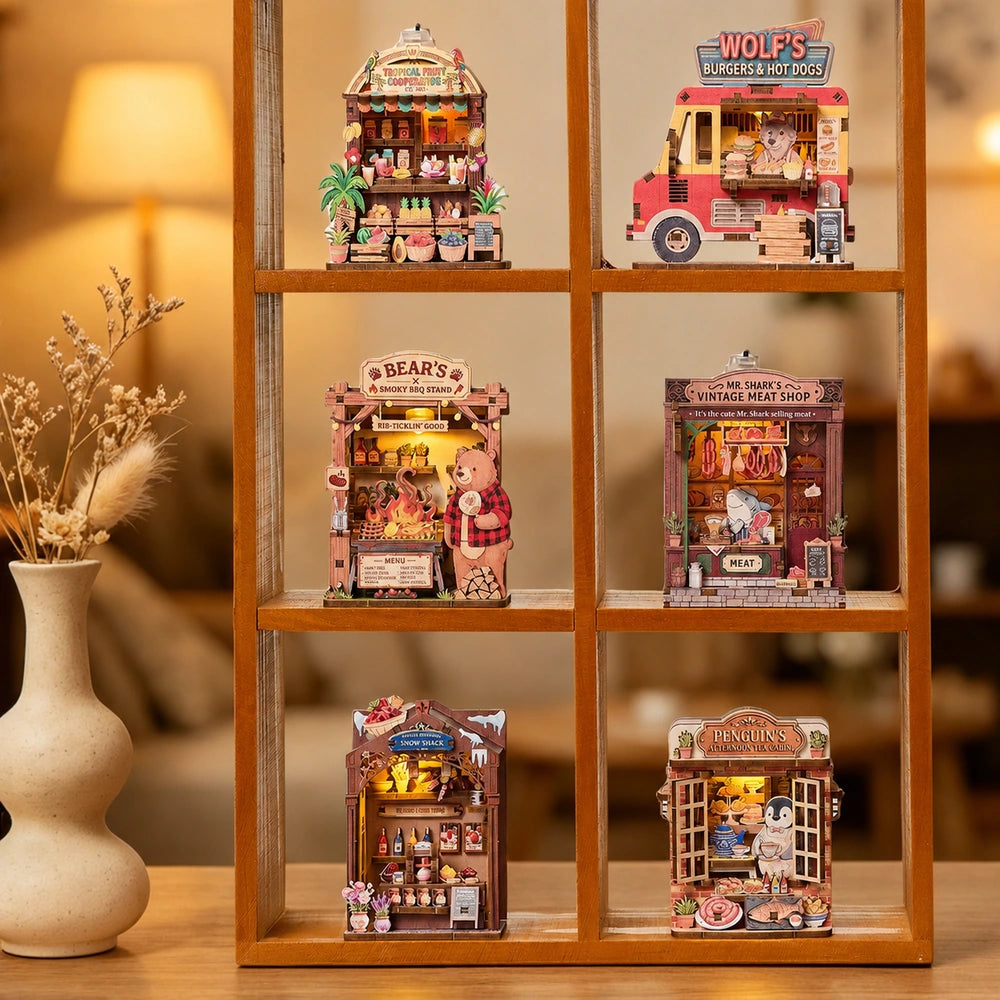
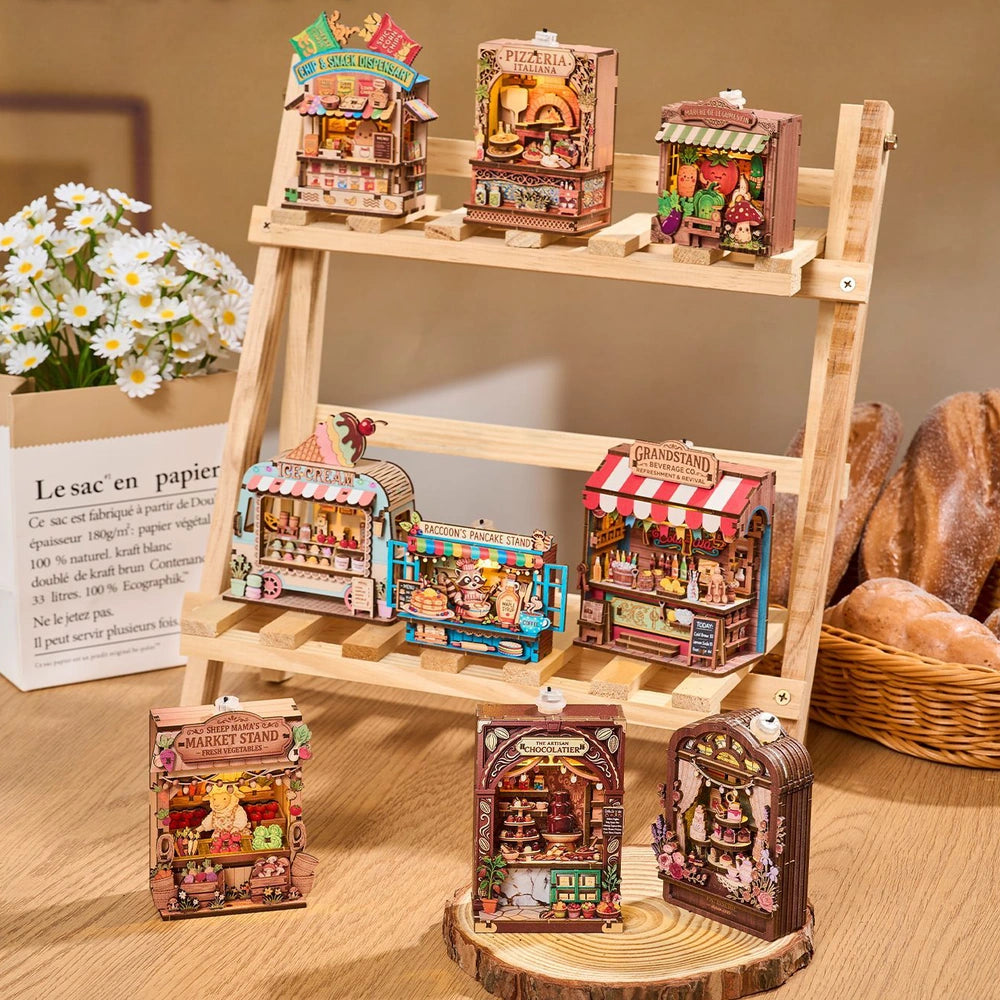
Fairytale Street Corners – Light-up 3D Fridge Magnets
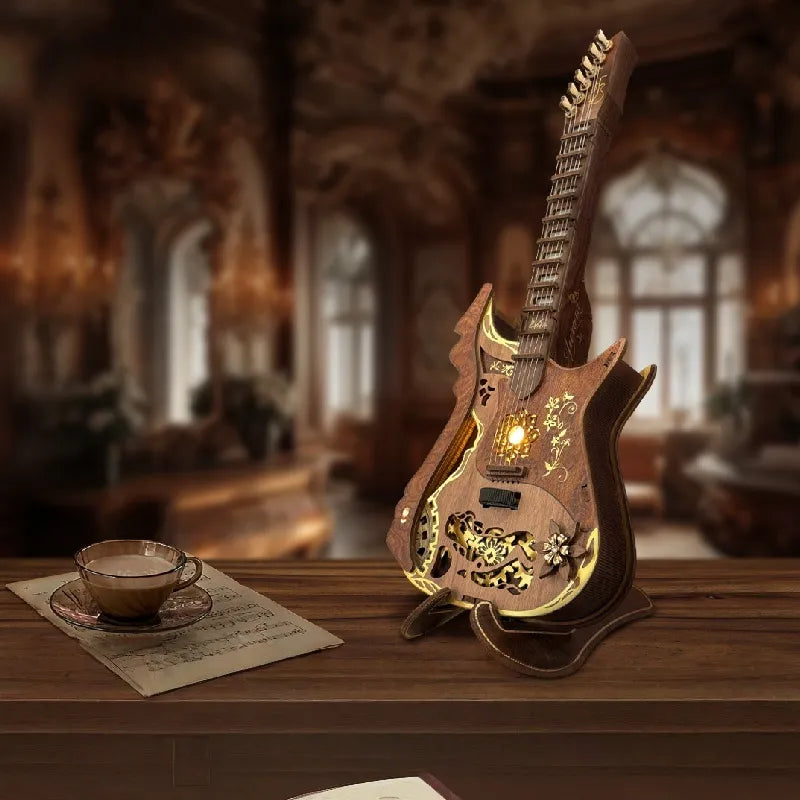

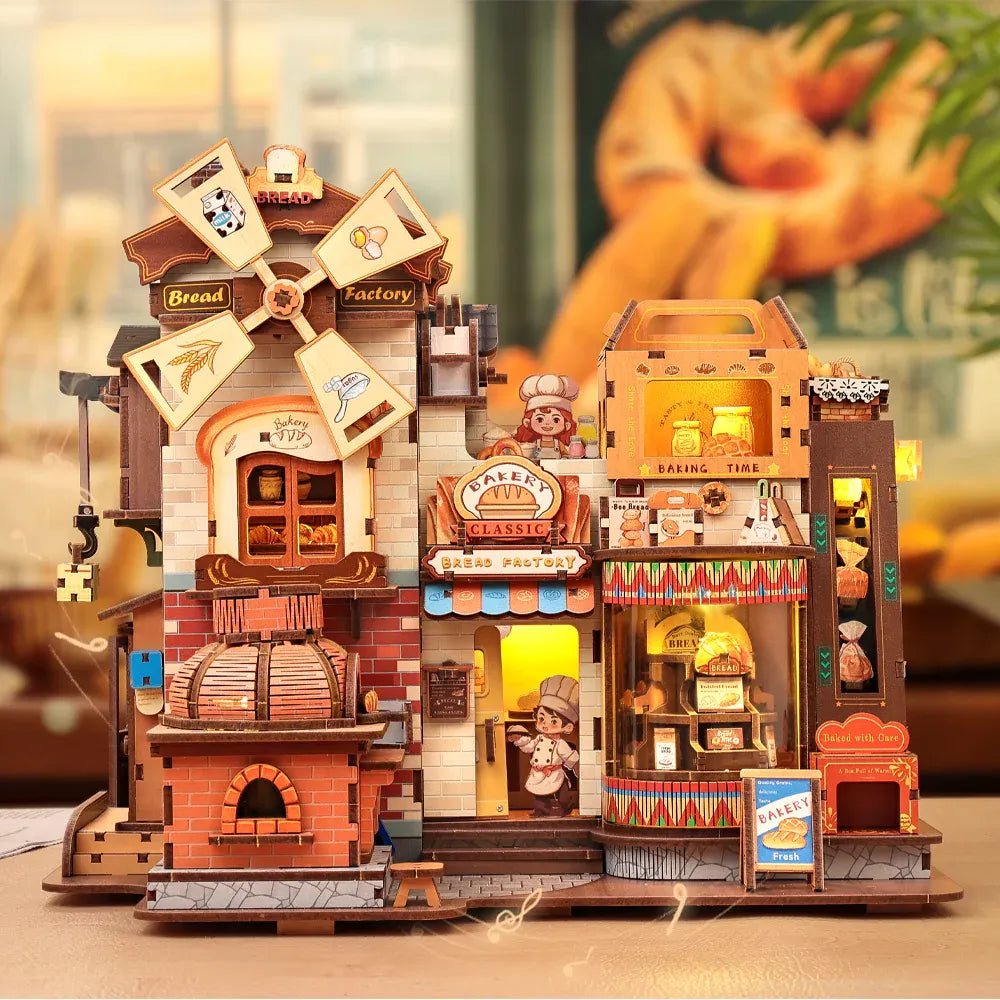
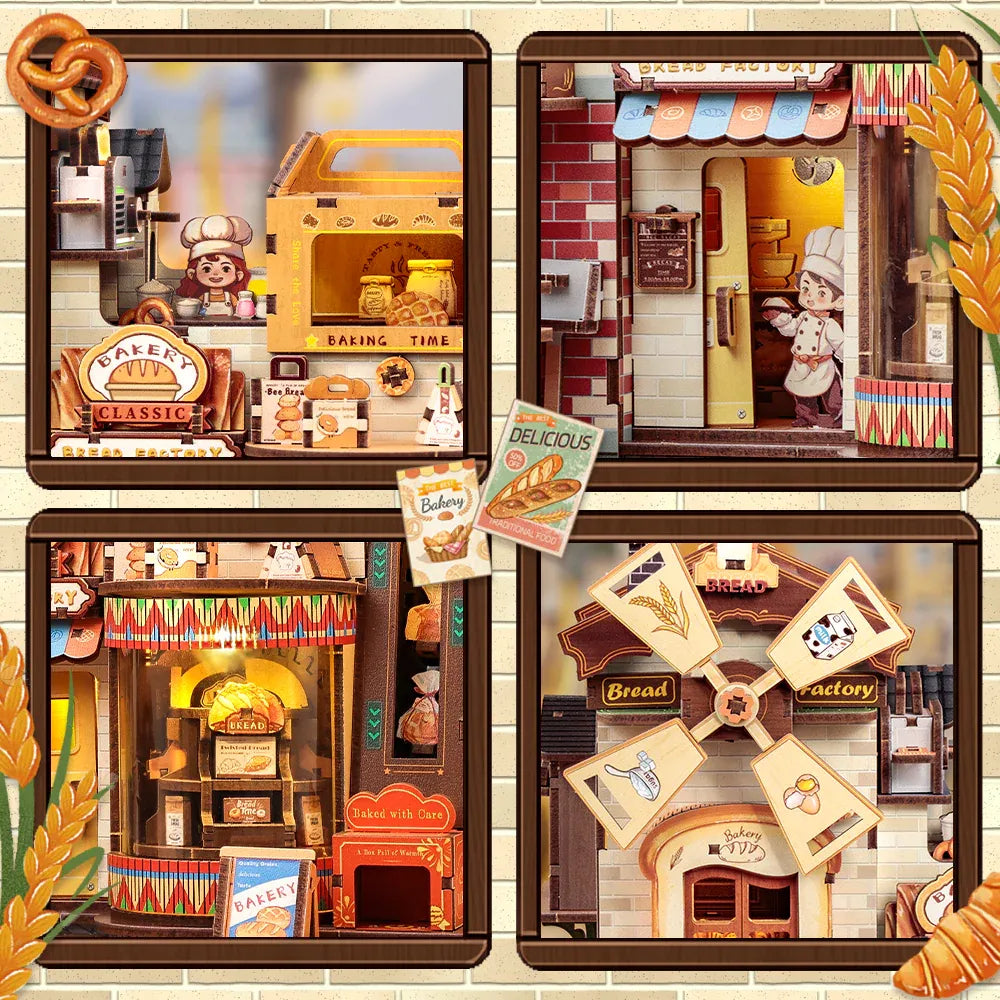
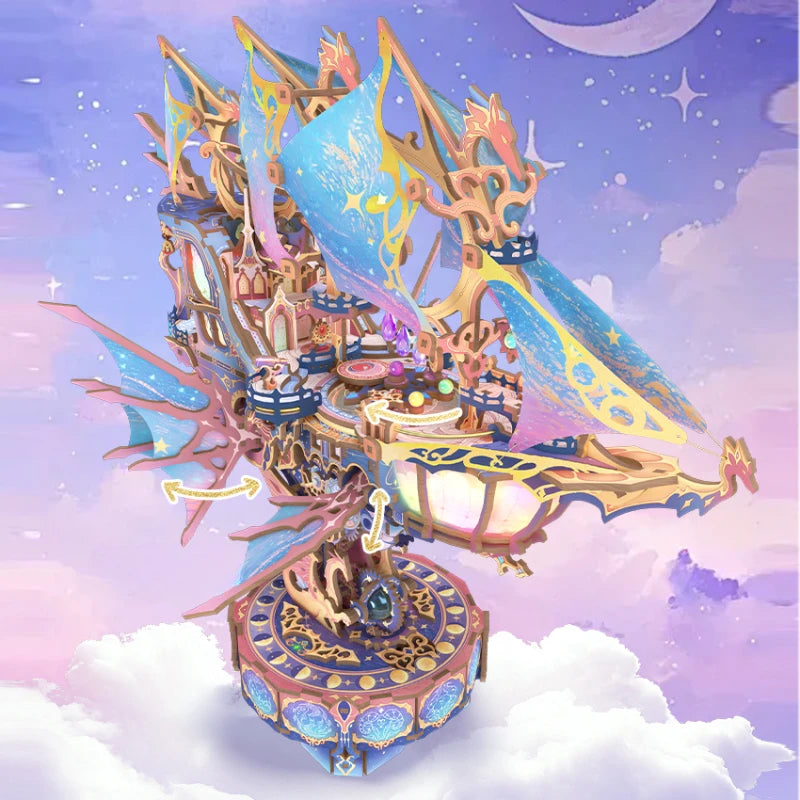

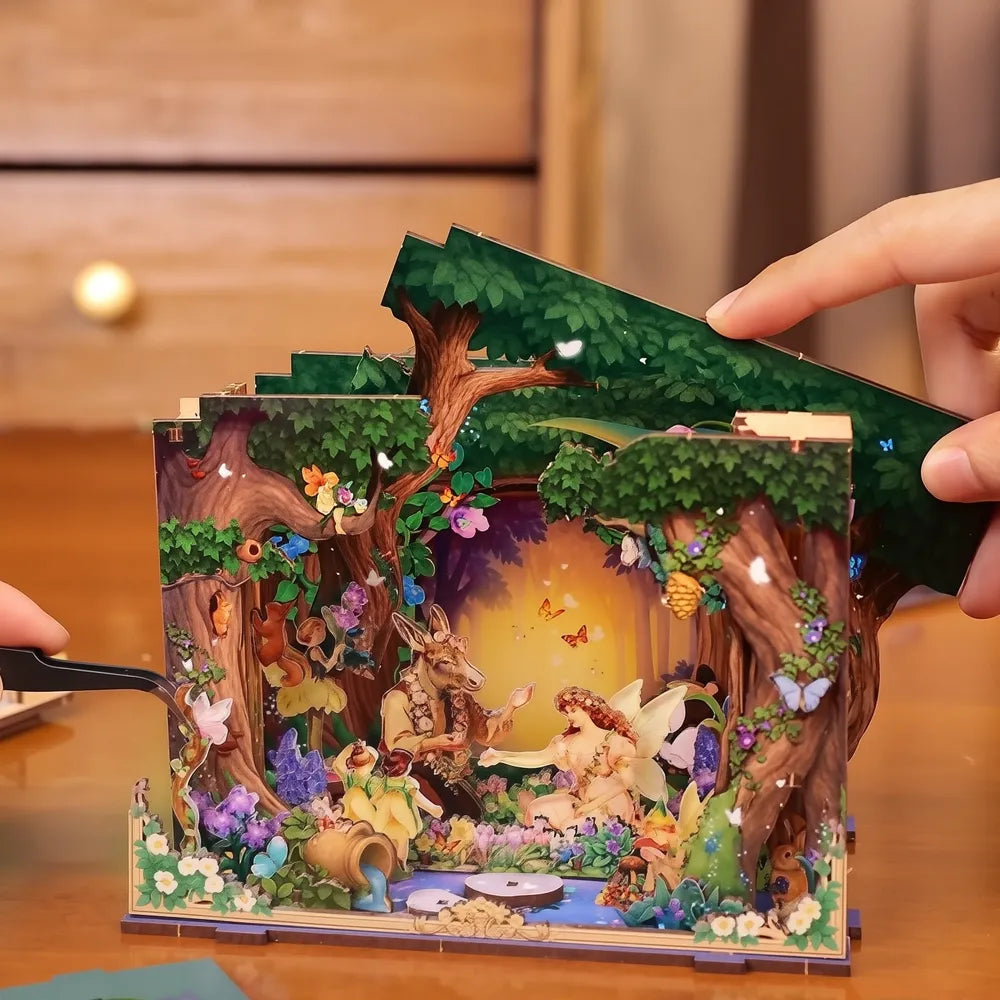
Seasonal Creative Offers
Find a hands-on project to enjoy at your own pace
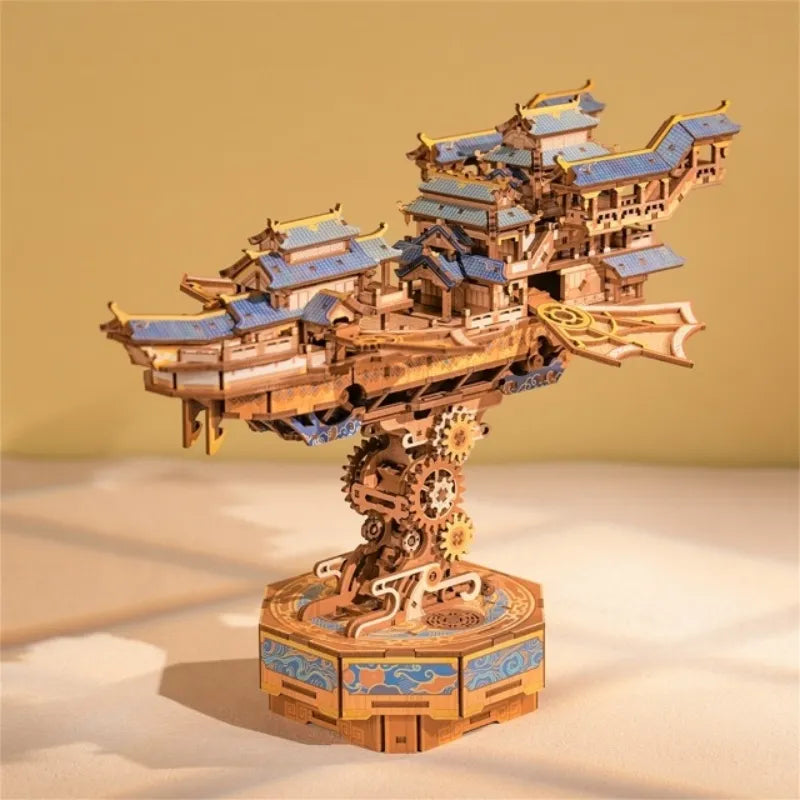
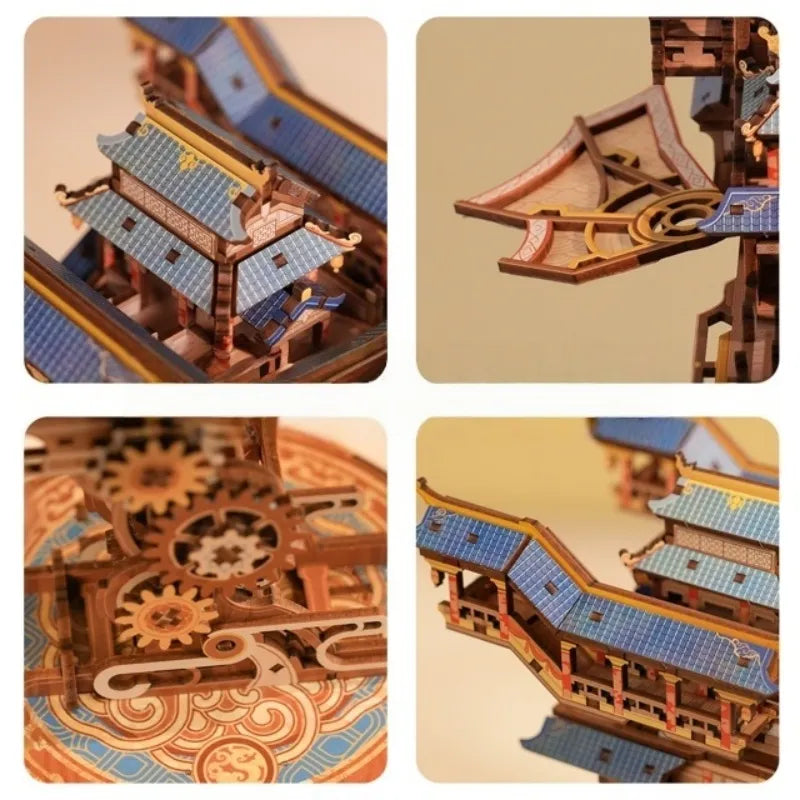
Wind Voyager – Mechanical Wooden Airship
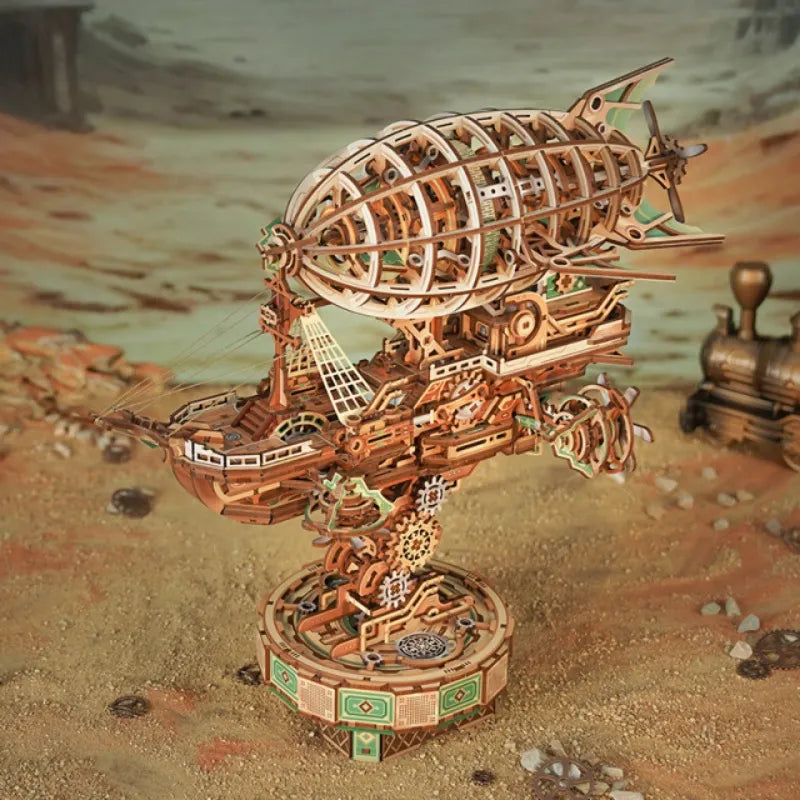
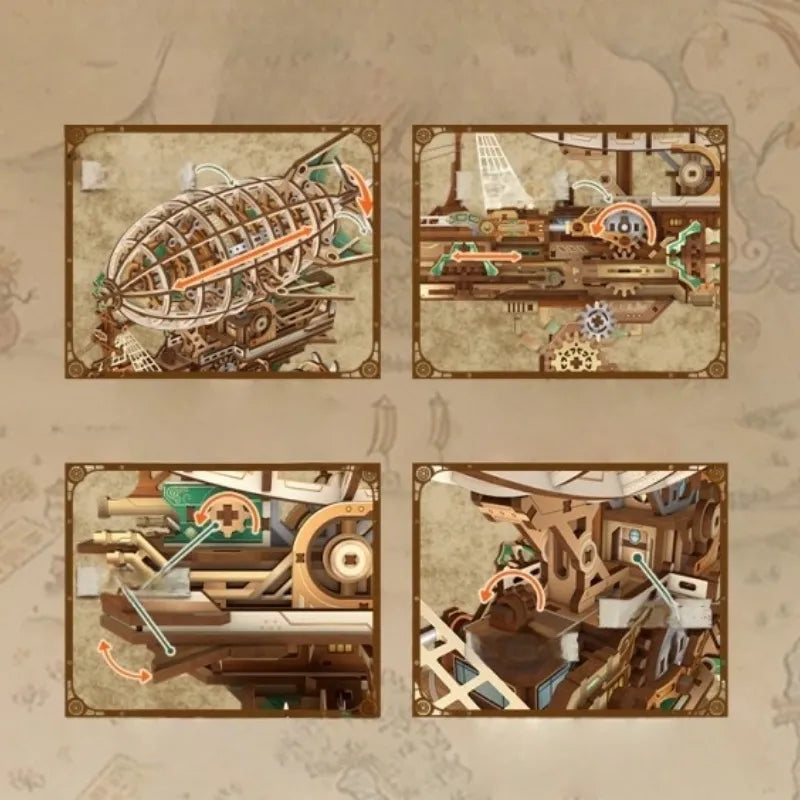

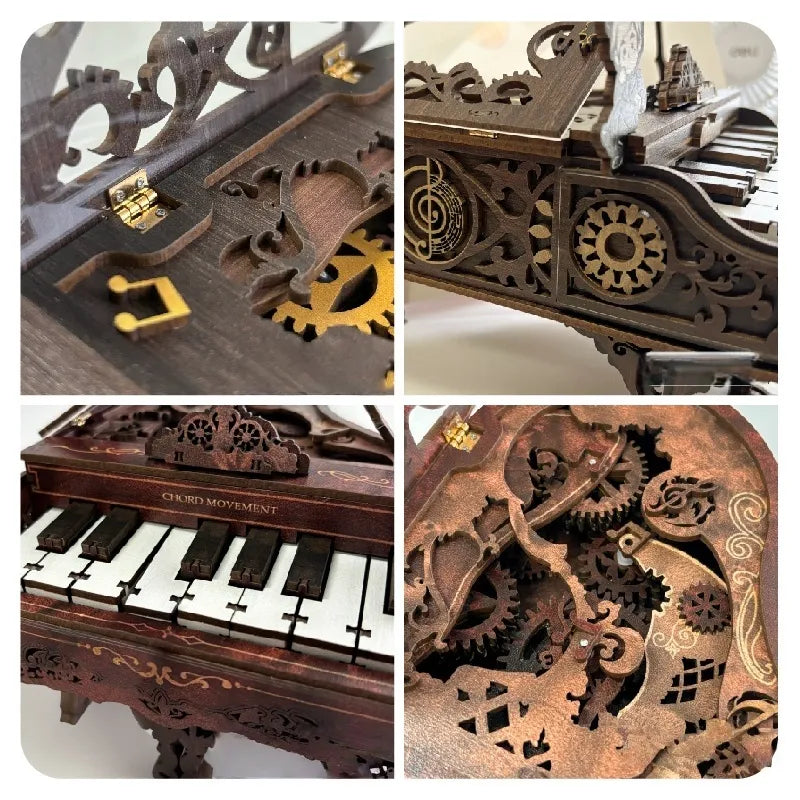


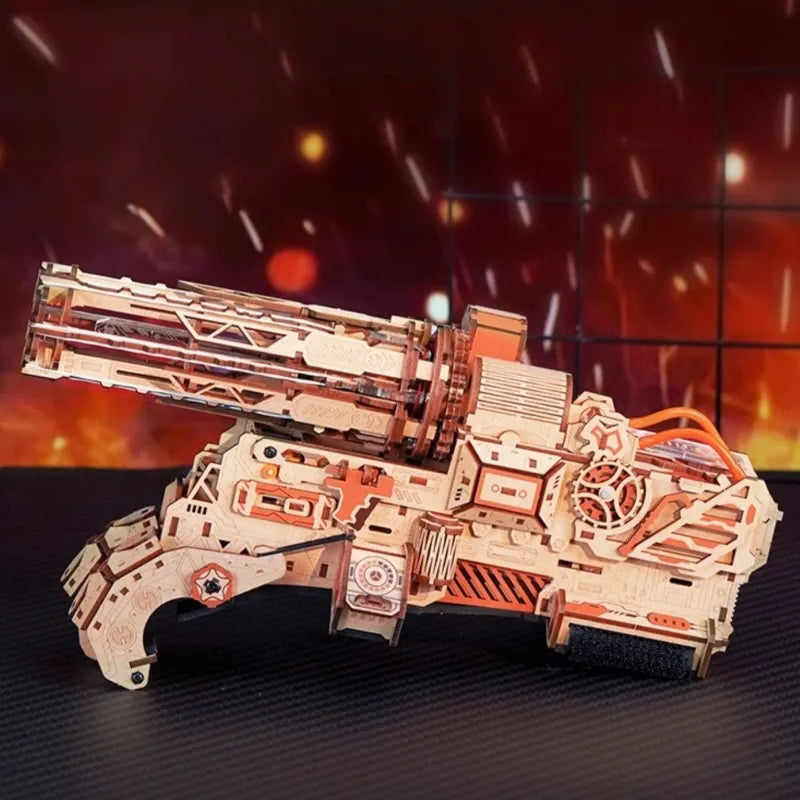
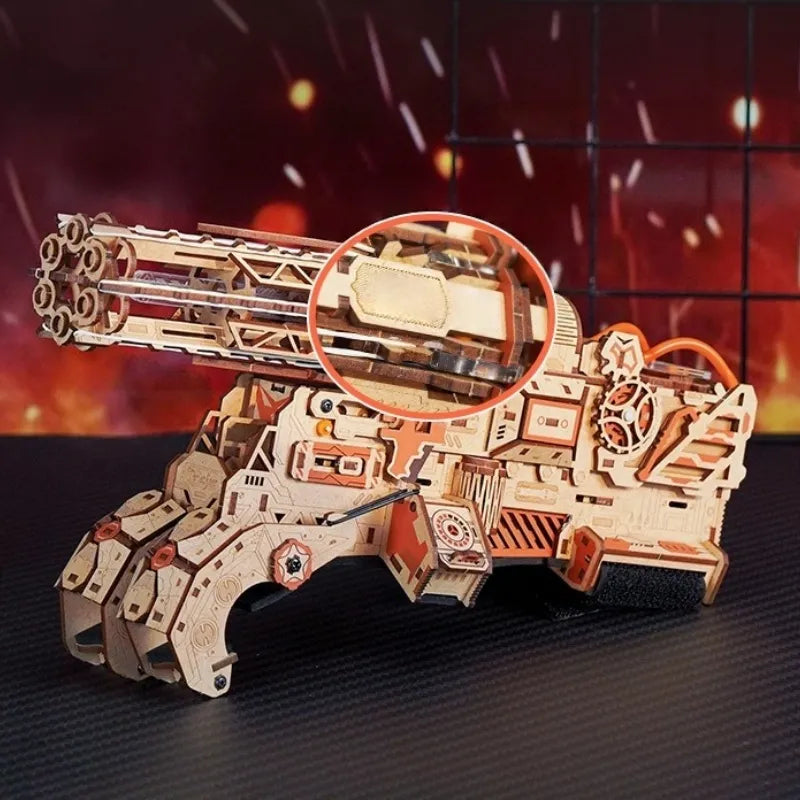
Burning Cyclone – Mechanical Wooden Launcher


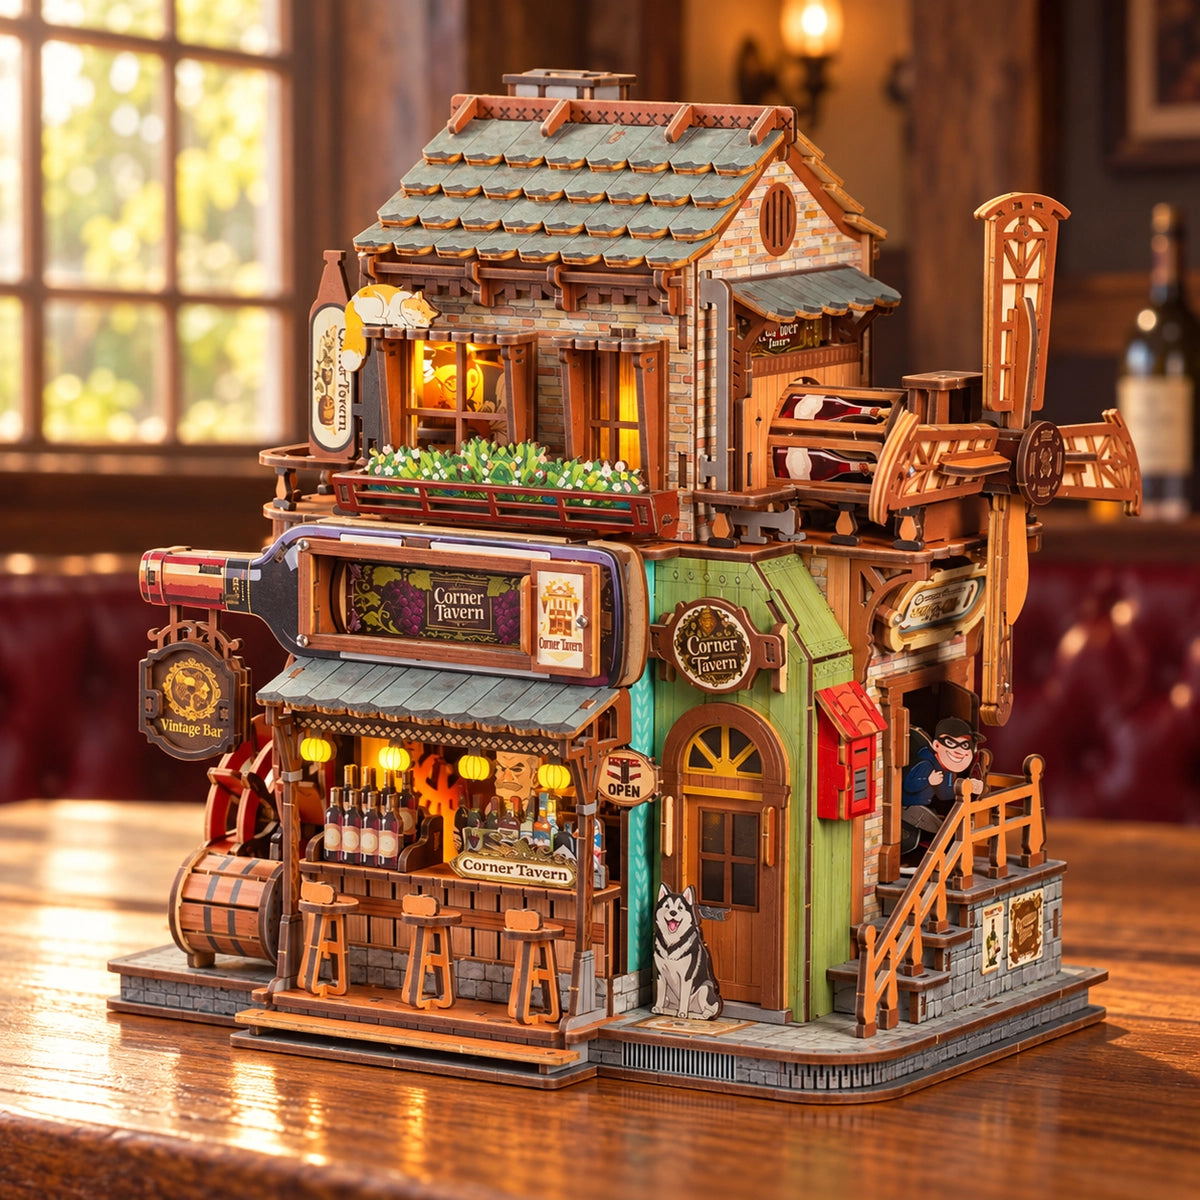
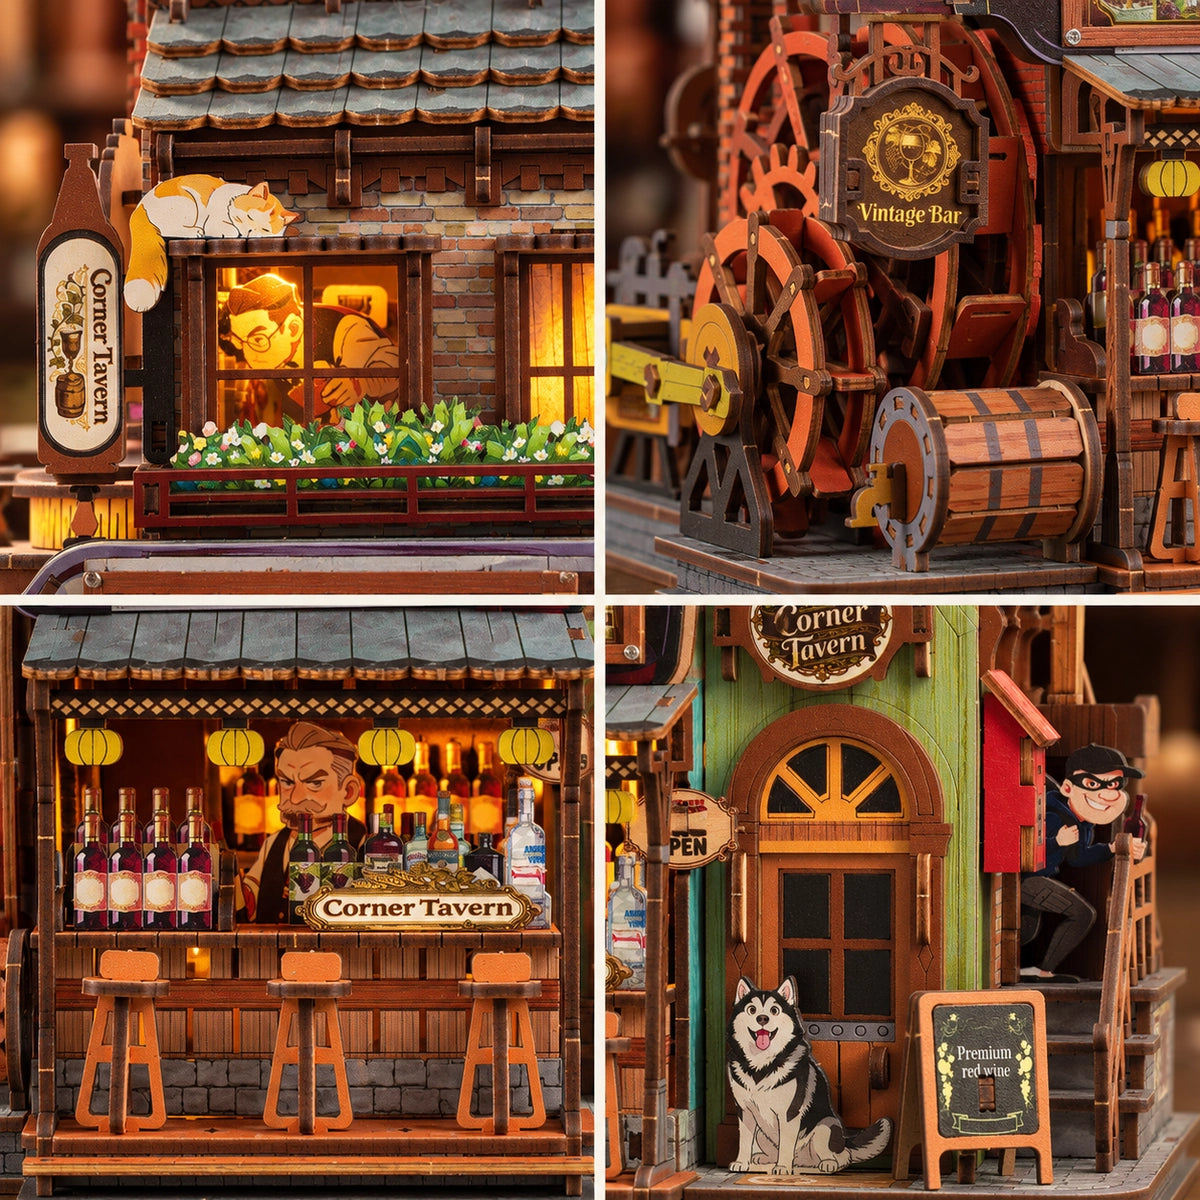
3D Wooden Puzzle - Corner Tavern


Prepared for dispatch in 0–2 working days
Carefully selected from around the world
Free replacement parts
3D Wooden Puzzles: More Than a Kit
On a day filled with screens, building something with your own hands offers a satisfyingly tangible experience. Each part has its place, every connection changes the structure, and the finished model reflects the time and care invested in it. 3D wooden puzzles combine assembly, observation and, in some models, visible mechanics. The collection ranges from decorative objects and vehicles to instruments, architecture and moving systems, with very different levels of difficulty.
What is a 3D wooden puzzle?
A 3D puzzle takes shape in space. Parts are removed from numbered sheets, checked, oriented and assembled into a stable model. Some designs focus mainly on form and proportion; others reveal gears, levers or transmissions that show how movement passes from one component to another.
“Wooden” describes the main structural material, but the exact composition, finish and additional components depend on the individual kit. The joining method also varies: tabs, small fasteners, adhesive or elastic parts should always be checked in the instructions and on the relevant product page. Never force a piece that does not fit. Orientation and sequence matter just as much as pressure.
Static models and mechanical designs
One of the most important differences is what the model does after assembly. A static design puts the emphasis on silhouette, detail and display value. A mechanical design adds relationships between moving parts, but visible gears do not automatically mean that a model is motorised or moves by itself.
- Decorative structures: focus on form, architecture and composition and are intended mainly for display.
- Manually operated mechanisms: move through a crank, lever or another direct action. Careful alignment affects how smoothly they work.
- Models with additional functions: music, lighting, electrical power, launching elements or motorised movement are present only when they are stated on the specific product page.
Before choosing, decide whether you mainly want a decorative build, a mechanism to understand or a function to operate. That distinction is more useful than a broad promise of an “interactive puzzle”.
The pleasure of building step by step
Assembly works best on a flat, clean and well-lit surface. Keep the numbered sheets in order, prepare only the parts needed for the current stage, and compare shape and orientation before removing them. Handle very small pieces carefully and keep them away from the edge of the table.
Each kit comes with illustrated instructions in English that rely mainly on pictures. Numbered parts, exploded views and visual sequencing make the steps easy to follow even without strong English skills. More difficult models still demand careful attention to component direction, axle order and the position of moving parts: a clear diagram does not remove the need for precision.
- Do not jump ahead: fitting a part too early may block access to a later connection.
- Test movement when instructed: on mechanical models, check each module before closing the structure and do not apply extra force if something stops.
- Use adhesive sparingly when required: apply it only where indicated and keep it away from gears or surfaces that need to move.
- Build in sessions: stopping at the end of a module helps keep the workspace organised and the experience enjoyable.
Choosing the right difficulty and format
Difficulty reflects the number and size of the components, the complexity of the sequence and the precision required. A small model is not necessarily simple: tiny parts and compact mechanisms can demand more attention than a larger, more linear structure.
Always check the finished dimensions. A vehicle with projecting parts, an object with a crank or a model designed to move needs free space around it, not just a surface matching the footprint of its base. Consider where it will be displayed and whether its mechanism can be operated without striking nearby objects.
For a first project, choose Beginner or Easy and a design whose overall form is immediately clear. If you already have experience with slot-fit construction and three-dimensional sequences, Intermediate, Hard or Expert models may offer more intricate transmissions, smaller components or several modules that need to work together.
Personalisation: when and how
Some models can be personalised with colour or a finish, but this is not a universal feature. Check that the material is suitable, test on a spare piece first and remember the tolerances of slot-fit joints: a layer that is too thick can prevent parts from fitting. Keep paint, adhesive and decorations away from gear teeth, axles, guides and surfaces that need to move.
If a kit includes electrical components, elastic parts or components under tension, do not alter them without specific instructions. Personalisation should enhance the model, not change a function or introduce a risk that the original design did not anticipate.
What the build can help you understand
Following a two-dimensional diagram and turning it into a three-dimensional structure involves orientation, sequencing and checking. Mechanical models also let you observe relationships between gears, levers and pivot points directly. That is a practical part of the experience, but it should not be presented as a therapeutic, educational or scientific outcome guaranteed for everyone.
Building together can be enjoyable when the roles are clear: one person follows the sequence, another finds the components and a third checks alignment. The recommended age, component size and difficulty still depend on the specific model; adult supervision does not automatically make a complex kit with small parts suitable for children.
A model to display and a gift to choose well
The finished model tells two stories: the subject represented and the process through which it was built. Display it on a desk, shelf or in a cabinet, away from moisture, heat and direct sunlight. Leave working mechanisms enough space to operate and remove dust gently without forcing moving parts.
As a gift, a 3D puzzle offers both an activity and an object to keep. Theme alone is not enough: consider the recipient’s experience, patience, available space and genuine interest in building. A precise choice is more helpful than assuming every puzzle will feel relaxing or suit everyone.
Explore the collection, compare the product pages and choose a project by what you want to build, understand and ultimately display.