

Learning Through Building: A Practical Guide to 3D Wooden Puzzles
A 3D wooden puzzle asks you to do more than find the right place for each piece. You read a construction sequence, picture how flat components will support one another and test with your hands what previously existed only in the instructions.
That combination of observation and making gives the build its value. You follow an order, recognise shapes, correct mistakes and gradually reveal a building, vehicle or mechanism. There is no need to turn the project into a lesson or promise a particular outcome: understanding the structure as it takes shape is already a satisfying result.
What Happens While You Build
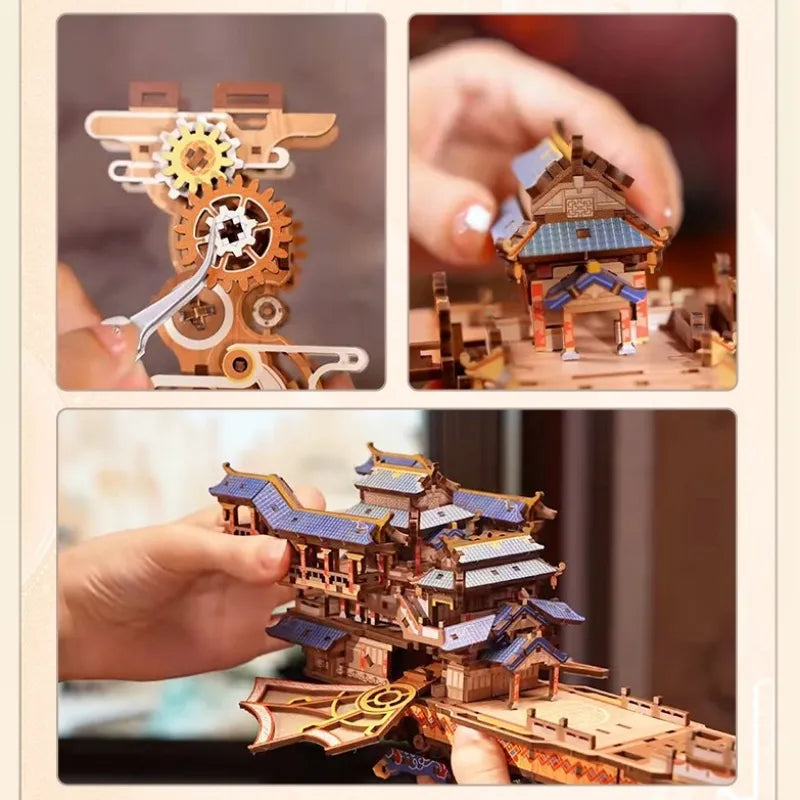
Each stage connects visual information with a physical component.
- Spatial reasoning: you compare a two-dimensional diagram with the real position and orientation of the pieces.
- Sequencing: you discover which steps must come first and why a component cannot yet be fitted.
- Accuracy: you learn to distinguish a secure joint from pieces that only appear aligned at first glance.
- Problem solving: when something does not fit, you return to the available information instead of applying more force.
- Continuity: you divide a larger project into manageable modules and building sessions.
These are aspects of the building experience, not guaranteed educational or therapeutic results. The design, difficulty and way each person approaches the project all matter.
Begin at a Level That Suits You
“Is this too difficult for me?” does not have the same answer for everyone. A suitable first project combines a subject that holds your interest, a difficulty level that matches your experience and tools you can use safely.
Level 1 – Beginner or Level 2 – Easy is often a sensible place to start. Piece count alone does not determine the challenge: very small components, precise joints, decoration and moving mechanisms can make two similarly sized models feel quite different.
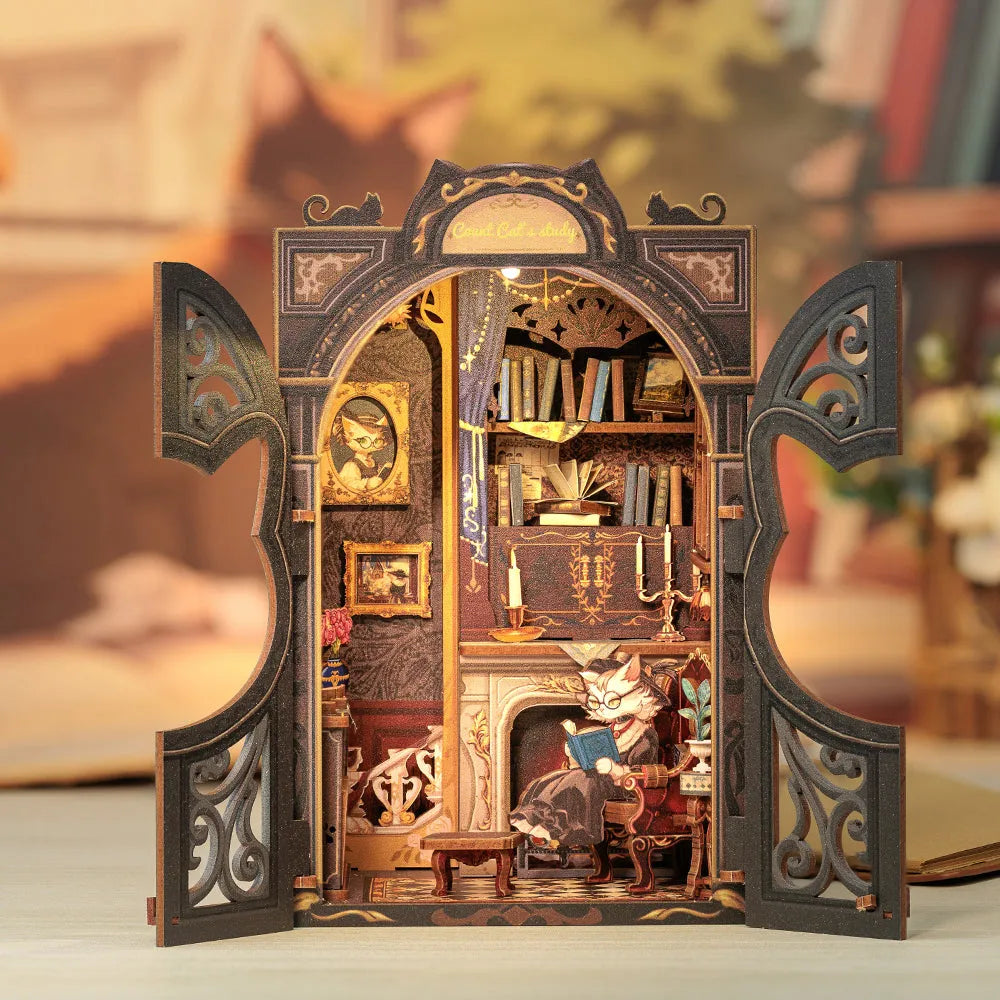
Choose a Sensible Starting Point
Start with the kind of construction you would like to understand.
- Buildings and landmarks: make volume, support and perspective easy to observe.
- Vehicles: can reveal the relationship between a chassis, wheels, axles and transmission where the model includes those parts.
- Mechanical objects: require careful attention to components that must move without unwanted friction.
Always compare the difficulty, recommended age and features on the individual product page. The most spectacular design is not automatically the best first project.
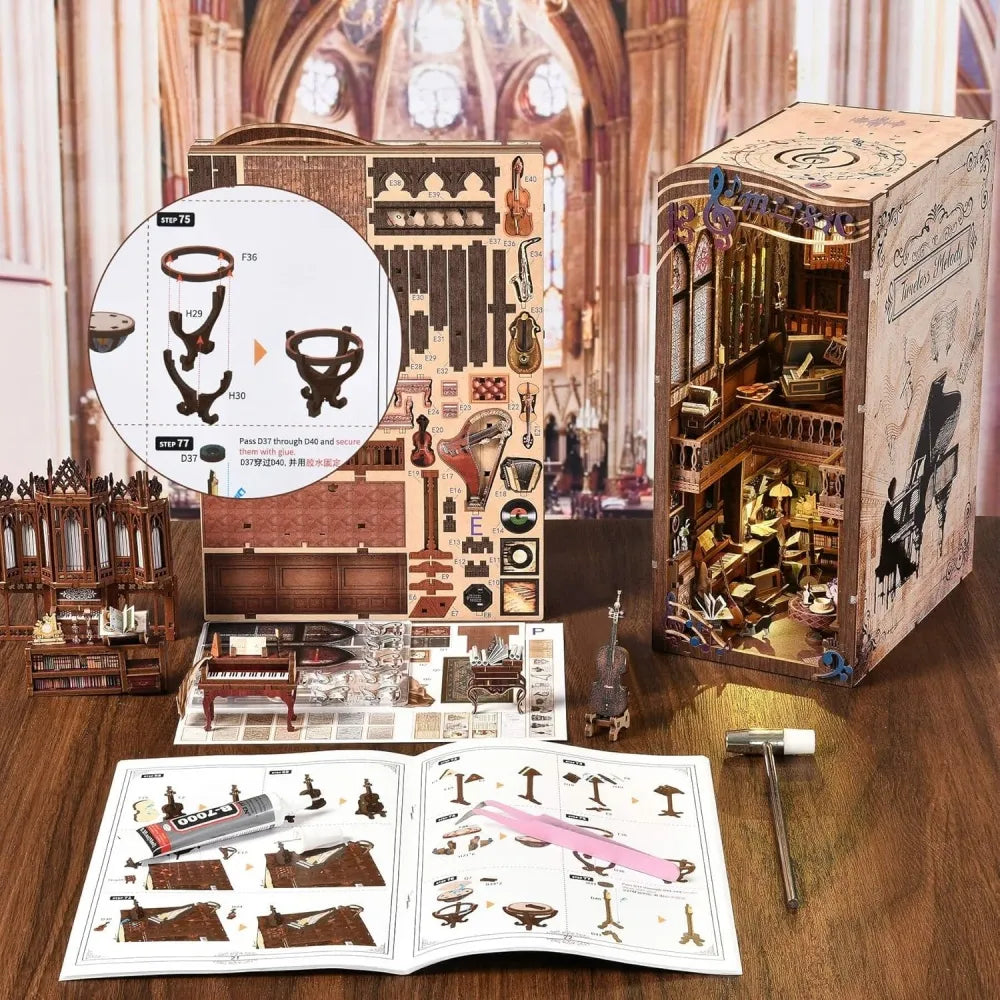
Arrange the Worktable Like a Map
Work on a stable, well-lit surface with room for the sheets, instructions and the module you are assembling. Look through the full sequence first, then leave pieces in their numbered sheets until you need them.
The illustrated English guide relies mainly on pictures, so direction and sequence remain easy to follow without having to interpret long passages of text. Even so, check the number, orientation and contact point before releasing each piece.
Use sandpaper, wax, adhesive and other aids only when the model calls for them or they are suitable for its materials. Do not assume that every tool or consumable is included.
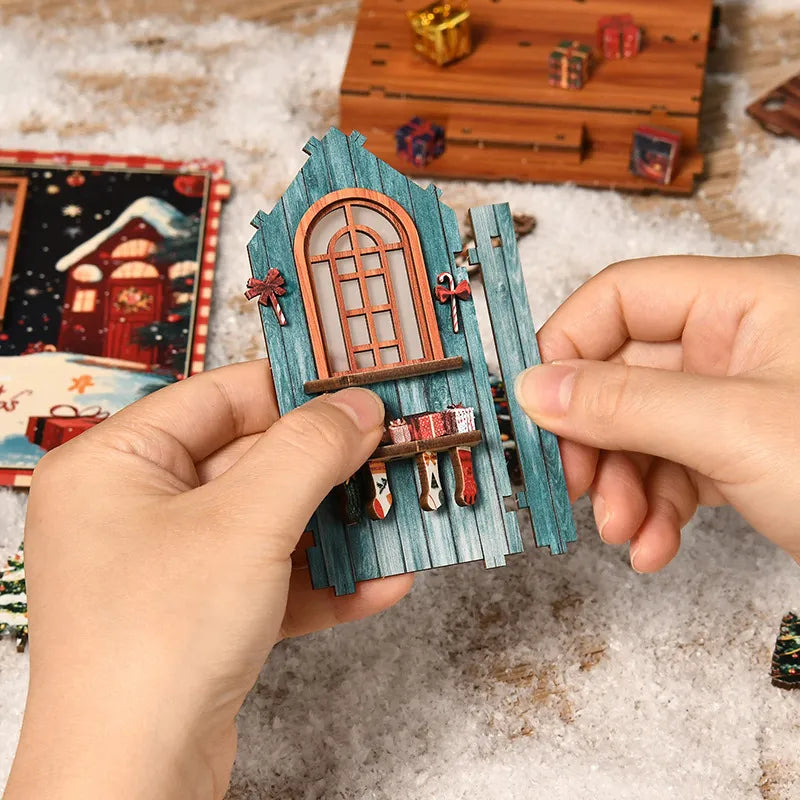
When a Joint Does Not Look Right
Turn “it does not work” into a specific question.
- Check the number: two similar pieces may belong to different stages.
- Check the orientation: a nearly symmetrical component can still have one correct side.
- Inspect the edge: a small tab of material may prevent accurate alignment.
- Go back one step: correct an accessible mistake before it becomes enclosed by the next module.
- Take a break: photograph the build and note where you will resume.
If the resistance remains high, do not use more force. Return to the instructions and use only suitable tools.
Build Together Without Taking Over
A 3D puzzle can be an enjoyable shared project when everyone understands the sequence. One person might read the next stage, another locate the parts and a third check the alignment. Swapping roles allows each person to understand the construction rather than repeat only one task.
Leave room for the builder to try, notice and correct. Stepping in at every hesitation can turn cooperation into simply following somebody else’s decisions. Choose the model, tools and size of components according to age and experience; adult supervision does not automatically make a complex kit suitable for a young child.
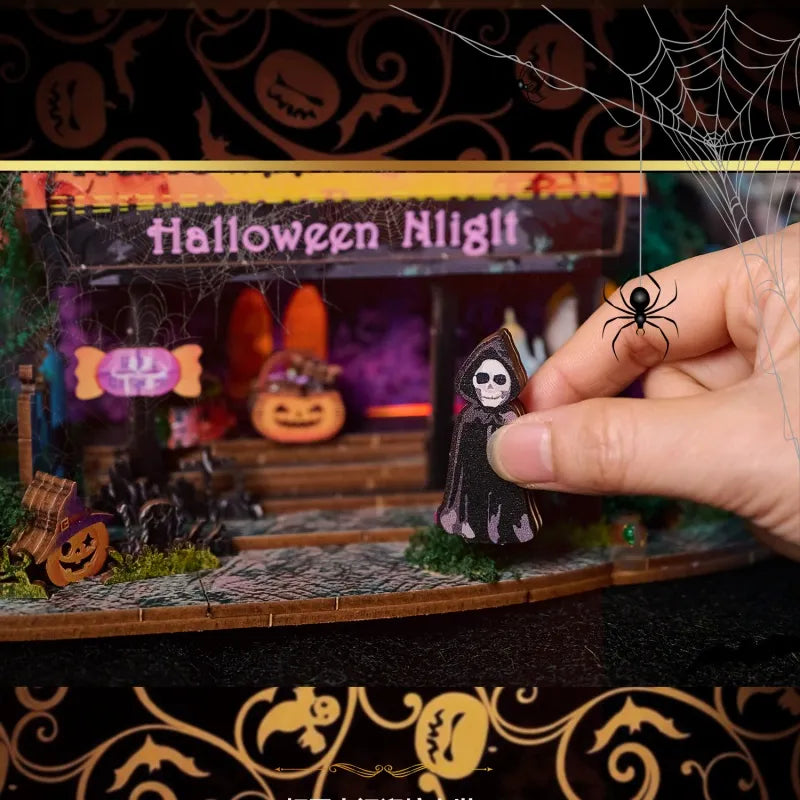

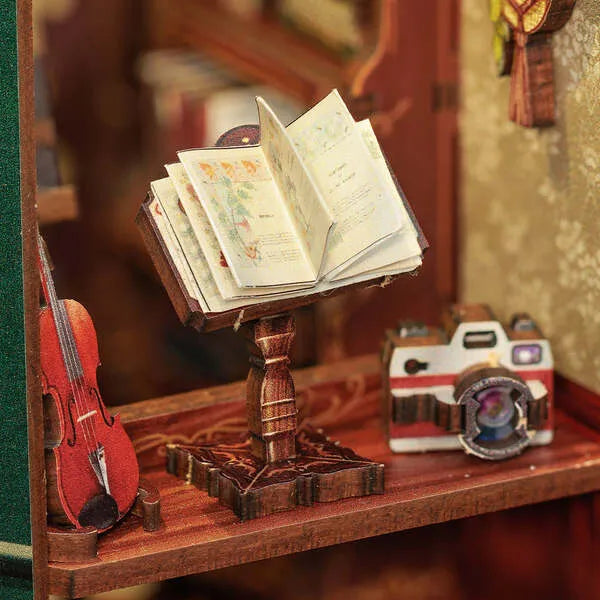
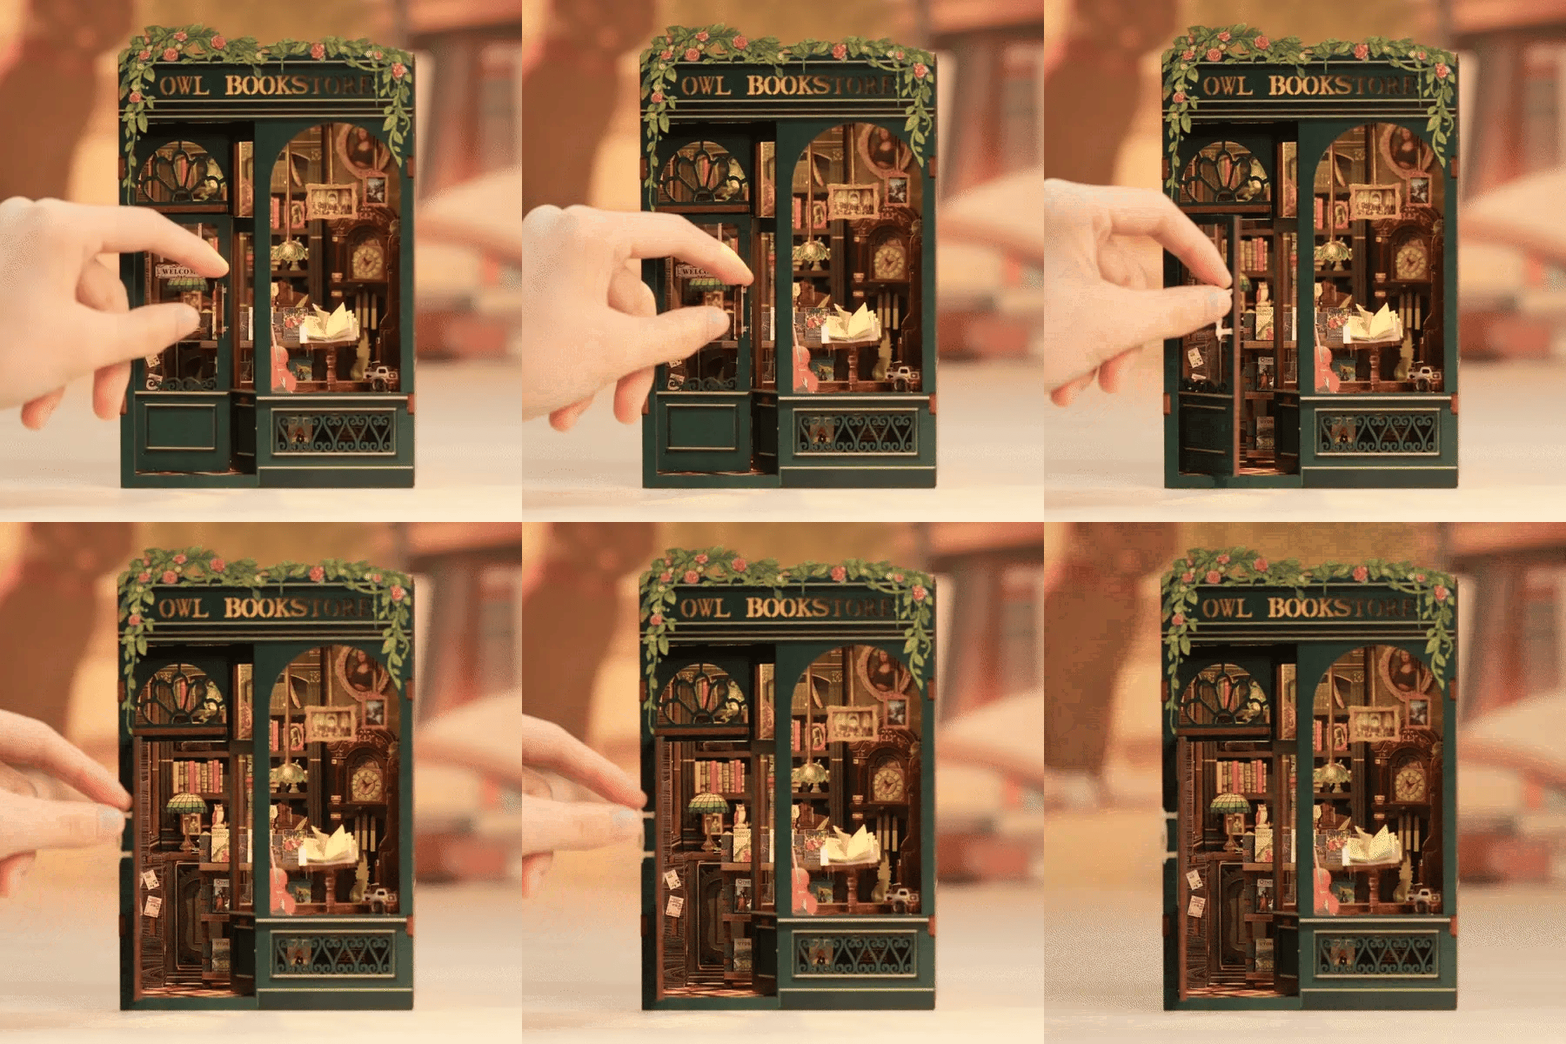
The Finished Model Preserves the Building Process
Once the final module is in place, the result also records the decisions made during assembly: the sequence you recognised, the mistake you corrected and the way one component supports another.
If the model includes a mechanism, test it at the stage specified by the instructions and make sure nothing is being forced. Not every 3D puzzle has gears, music, a motor or lighting, so check the features of the specific product.
The completed object can become a decorative piece, but it can also help you explain how movement is transferred or why a structural component is needed. Building and understanding come together naturally, without turning the project into a test.
Share: